How to Fillet a Fish: Step-by-Step for Beginners
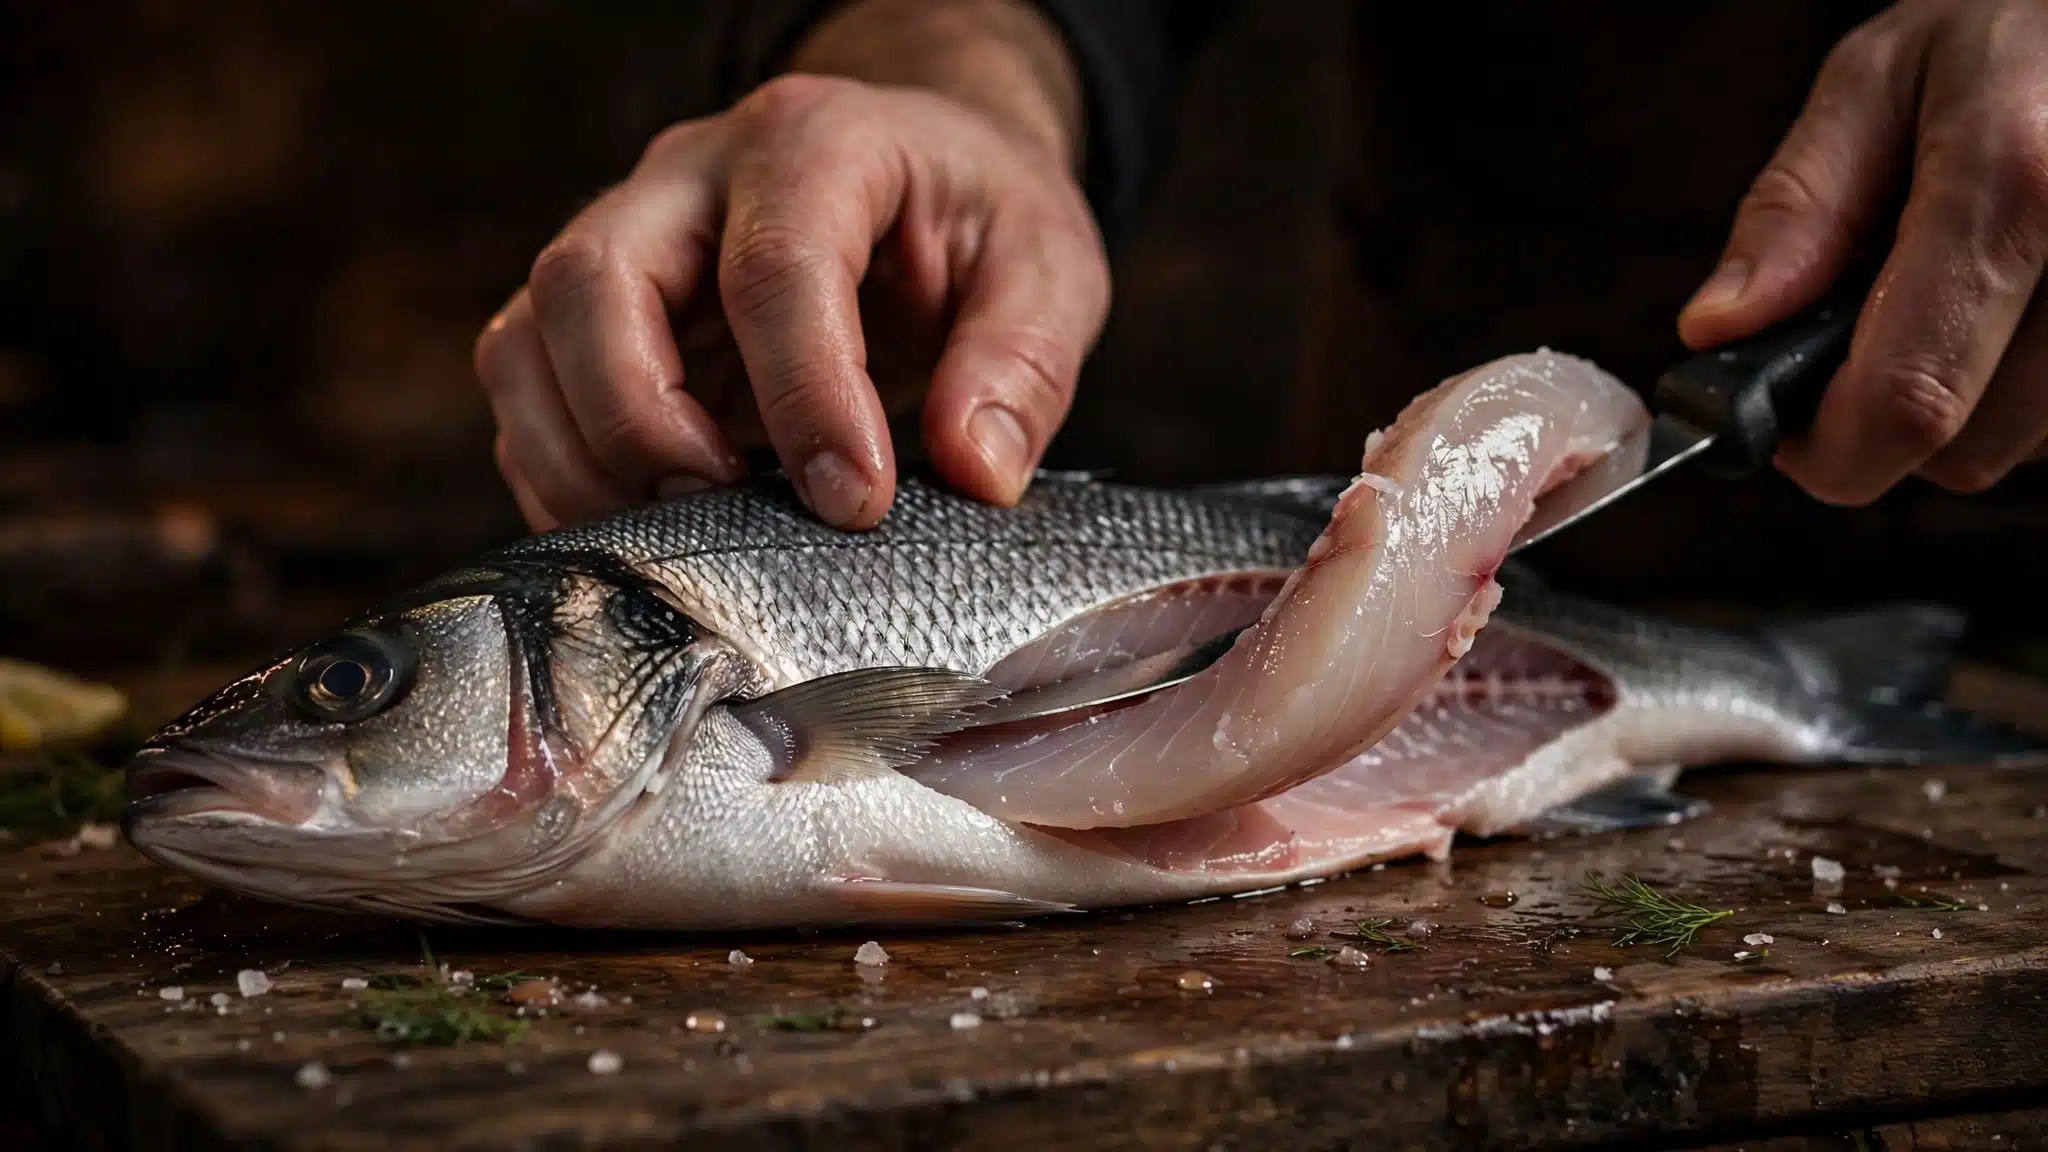
Fillet a fish with two cuts: one down behind the gill plate until the knife touches the backbone, then one long glide along that backbone from head to tail, repeated on the second side.
I have filleted fish from my own canal catch for years, and beginners usually make the same mistake: they fight the fish. The backbone is a guide rail, and your knife rides it. Let the bone steer the blade and the fillet comes away clean, with very little good flesh left behind.
This guide sits inside the full prep sequence in Fish Prep and Butchery: Every Skill You Need, where filleting follows scaling and gutting and comes before pin-boning, skinning, and portioning.
Table of Contents
What You Need Before the First Cut
You do not need a drawer full of tools. You need a sharp knife, a board that does not slide, and a cold, organised work area. Set everything out before the fish comes out of the fridge.
- A flexible, sharp fillet knife — long enough to run the length of the fish in one glide, with a blade that can bend slightly over the rib bones.
- A large cutting board with a wet towel underneath it — the damp towel grips the counter and stops the board travelling while you cut.
- A dry towel for grip — to hold the fish steady without your hand slipping on wet skin.
- A cold tray — for finished fillets, set over ice if your kitchen is warm.
- A scrap bowl — for rib trimmings, skin, and the frame, so waste never piles up on your cutting surface.
- Fish tweezers — pin-bone tweezers are the next skill after filleting, and having them ready keeps the workflow moving.
Keep the fish cold and work on one fish at a time. The rest stay in the fridge or on ice while you cut. A cold fish is firmer, easier to hold, and far more forgiving than a warm, soft one. If your knife tears the flesh instead of slicing it, stop and sharpen or hone it first. A dull knife is the real beginner problem behind most ragged fillets.
Start with the Right Fish
Good filleting starts before the knife comes out. Choose a fish with clear, bright eyes, red gills, firm flesh that springs back when pressed, and a clean smell. Dull eyes, grey or brown gills, flesh that stays dented, or a sour, ammonia-like smell are reasons to stop before you start. If any of those signs are present, read How to Tell If Fish Has Gone Bad before you cook anything.
Tilapia is the beginner classic: inexpensive, widely available, and simple enough in structure that your first attempts still produce a usable fillet. Pomfret is forgiving too, because its broad, flat body gives the blade a clear outline to follow. Rohu and catla are different. In most South Asian kitchens they are usually cut into bone-in steaks instead of forced fillets, and that is the right call while you are learning. Do not fight a fish into a fillet when its bone pattern is better suited to steaks.
Step-by-Step: Fillet Both Sides
Work on a scaled, gutted fish that has been rinsed and patted dry. Lay it on its side with the head pointing away from your knife hand. Keep your holding hand flat on the fish, fingers curled up and away from the blade path, and use the dry towel for grip rather than pressing harder.
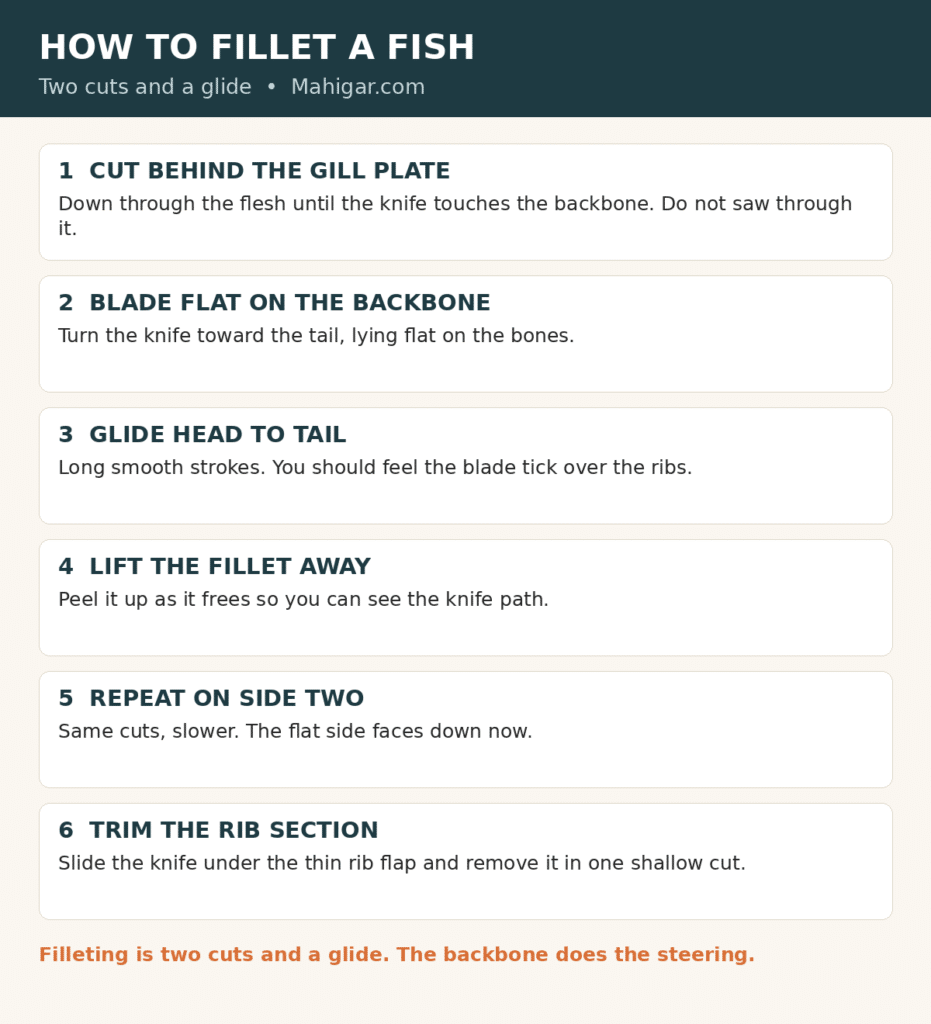
Fillet both sides of a whole fish in six steps: cut behind the gill plate, turn the blade flat on the backbone, glide to the tail, lift the fillet as you go, free the tail, then turn the fish over and repeat on the second side.
Cut behind the gill plate
Place the knife just behind the gill plate, angled slightly toward the head, and cut down until the blade touches the backbone. Do not saw through the backbone.
Turn the blade flat toward the tail
Turn the knife so the edge faces the tail and lay the blade flat on the backbone. The backbone is now your guide rail for the long cut that follows.
Glide from head to tail
Glide from head to tail in long, smooth strokes, feeling the blade tick lightly over the rib bones. Use the full length of the blade instead of short sawing movements.
Lift the fillet as you go
Lift the cut section gently with your free hand as you go, so the blade stays visible and flat against the backbone instead of disappearing under the flesh.
Free the tail and lay the fillet down
Cut through at the tail to free the fillet completely, then lay it skin side down on a clean area of the board or straight onto the cold tray.
Turn the fish over and repeat on side two
Turn the fish over and repeat the same sequence on the second side: cut behind the gill plate, flatten the blade on the backbone, glide to the tail, lift, and free the fillet.
When both sides are done you will have two fillets and one frame. Move the fillets straight onto the cold tray, skin side down, and put the frame in the scrap bowl. Never lay a finished fillet back on the part of the board where the raw whole fish was sliding around.
Trim the Rib Section
Lay each fillet skin side down and run a fingertip along the thin belly flap. You will feel the rib bones curving through that section. Trim the rib section away in one shallow cut that follows the natural curve of those bones. Accept losing a thin sliver of flesh on the bone side of the cut. Digging and hacking at individual ribs tears the fillet and costs you more than the clean, shallow trim ever will.
Pin bones are a separate step, and this is not where you chase them. After the rib trim, feel along the thick centre line of the fillet with a fingertip. If you find sharp tips in a neat row, those are pin bones. Leave them for the pin-boning step rather than cutting slots into a fresh fillet.
Skin On or Skin Off?
Keep the skin on when you want crisp skin and protection for the flesh. Skin holds a fillet together in a hot pan or on a grill and shields the delicate flesh from direct heat. Skin the fillet when the cooking is gentle — a mild poach, a steamed dish, or a curry — where soft skin adds texture you do not want. For which skins are good to eat and how to clean them properly, see Is Fish Skin Safe to Eat?
To skin a fillet, lay it skin side down with the tail end closest to you. Grip the skin at the tail firmly, slide the knife between skin and flesh at a slight angle, then pull the skin toward you while working the knife forward in short, gentle strokes. Keep the blade angled very slightly down toward the skin so flesh is not left behind, and let the pulling hand do most of the work.
After Filleting: Chill, Portion, Cook
Portion the fillets evenly before cooking. Pieces of similar thickness finish at the same time, so one doneness check covers the whole batch instead of leaving you with an overcooked thin end and a raw thick end. If a fillet tapers sharply, the thin tail piece can be folded under or cooked as its own small portion.
Cook fish to 145°F in the thickest part, and check the full table in Safe Internal Cooking Temperatures for Every Type of Fish for the fish you are serving. If you are not cooking straight away, chill the fillets covered at 40°F or below and use raw fish within 1 to 2 days at most. Wash your hands, the board, and the knife in hot soapy water as soon as the fish work is finished, and keep raw fish and its juices away from ready-to-eat food.
The Mistakes That Cost You Yield
Almost every gram of wasted fish comes from the same short list of habits. Fix these and your yield improves more than any new knife will ever improve it.
- Sawing instead of gliding — short back-and-forth strokes shred the surface. Use the full length of the blade in long, smooth passes.
- Floating above the backbone — if the blade is not riding the bone, the flesh that should be on your fillet is still on the frame.
- A wet, sliding fish — a fish that moves while you cut forces rushed, crooked cuts. Dry the fish, dry your hands, and anchor the board.
- Forcing a dull knife — pushing harder with a blunt blade bends the flesh and tears the fillet instead of slicing it.
- Cutting through the backbone — sawing down through the spine on the first cut ruins the guide rail for the long glide that follows.
- Uneven portions — mixed thicknesses mean mixed doneness, no matter how carefully you watch the pan.
Frequently Asked Questions
What is the easiest fish to fillet for a beginner?
Tilapia is the easiest place to start, then pomfret. Save rohu and catla for bone-in cuts at first, because their bone pattern suits steaks better than a forced fillet.
Should I fillet fish before or after scaling and gutting?
Scale and gut the fish first while it is still whole, rinse and pat it dry, then fillet. A whole fish is easier to hold and keeps the flesh cleaner during scaling and gutting.
How do I keep the fish from sliding on the board?
Dry the fish and your hands first, put a wet towel under the board so the board cannot travel, and grip the fish with a dry towel instead of holding wet skin with bare fingers.
Can I freeze the fillets I just cut?
Yes. Portion the fillets first, wrap them tightly with no air pockets, and freeze them promptly. Same-day cooking still gives the best texture, so freeze only what you will not cook fresh.
What to Check Next
Pin bones are the next skill: once you can fillet both sides cleanly, learn to feel for that centre line of sharp tips and remove them with tweezers. Portion your fillets evenly so one doneness check covers the whole batch. Then go back to Fish Prep and Butchery: Every Skill You Need and work through scaling, gutting, skinning, and portioning in order, so each skill builds on the one before it.
Sources: This guide follows general seafood-handling principles published in FDA seafood handling guidance and FoodSafety.gov food-safety guidance, including keeping raw fish at 40°F or below, using it within 1 to 2 days, and cooking fish to 145°F. This is general kitchen information, not medical advice.
